
The last two days have included a carp ton of trips to the home improvement and hardware stores. There is a really good chance neither of us will have to visit one tomorrow. I think we got it. At the end of the third day the entire base is in. If the floor had been even slightly level it might not have taken so long, but my 100 + house is not level at all. Some cabinets are sitting on 1X4 frames that are then shimmed to get it all level.
We went with stock size cabinets and did not get enough filler pieces so the layout changed a bit. Our fridge will take a new location making the whole new area be countertop. The fridge sticks out 33 inches so we decided to pull the lazy Susan out even with the fridge and get a bigger countertop area there. Otherwise it would of created an area where you were boxed in. This allowed us to use the fillers on the sink base and increase that area as well.
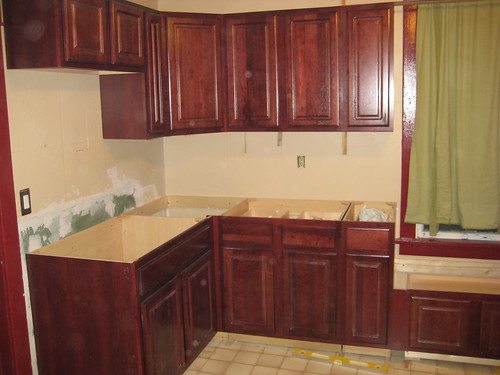
At the end of day three all cabinets are in and the next step is countertops which will go easier since so much care was made to support it and the fact that it is level in every possible way.
lots of pics and stuff below.
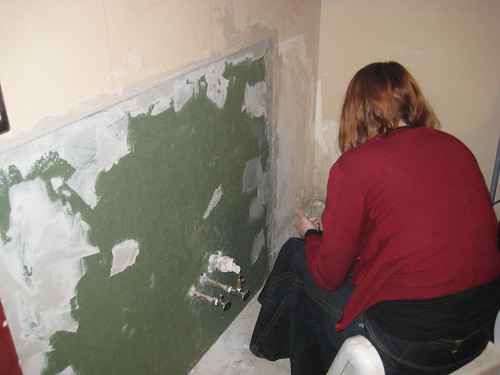
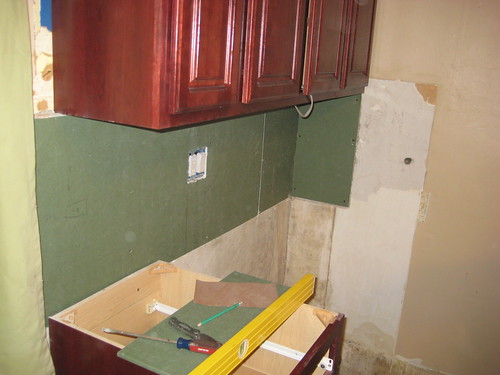
All the missing wall behind the sink got replaced with some green sheet rock. Same plumbing connections since it is straight to cast Iron and I did not want to mess with that at all.
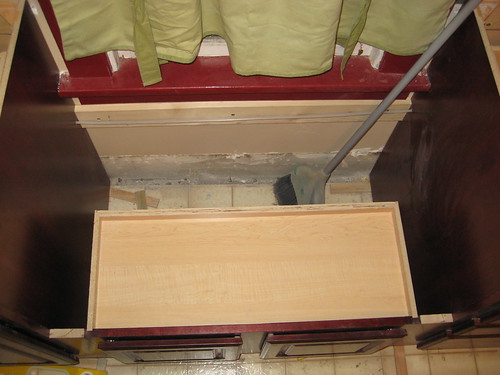
This is a 30 X 15 upper cabinet we are turning into a base cabinet that goes under the window with its own countertop. It will sit below the main counterop which will be removable (it will make sense later). It will hold our microwave. Of course it is joined to the others with 3 inch torx deck screws.

This is one of the bummers of us using stock size cabinets. We were going to do this and when we ordered the cabinets I could of easily had them make a 24 inch deep short cabinet like this with the toe kick base built on, but we had to modify this one.

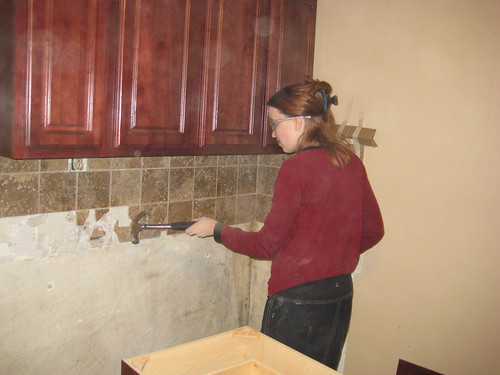
After some measuring we realized the old tile back splash we installed a couple months ago had to be torn out. Theresa is a tile and plaster removing machine. I have vid of her wrecking it like a pro.

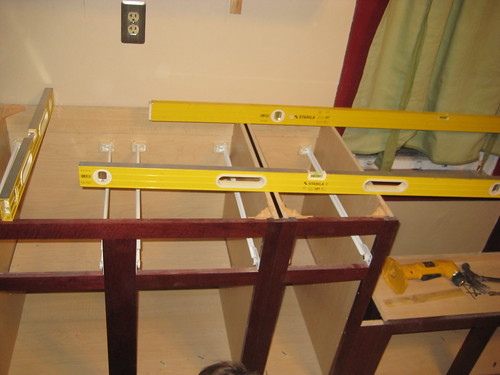
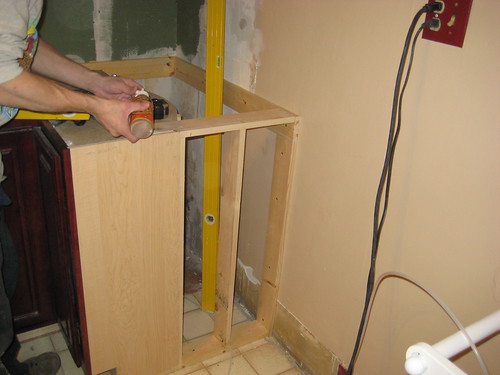
Scott used 3 levels to make sure every single thing is absolutely perfect. Shims were needed all over the place and all were glued with gorilla glue to make it amazingly solid.
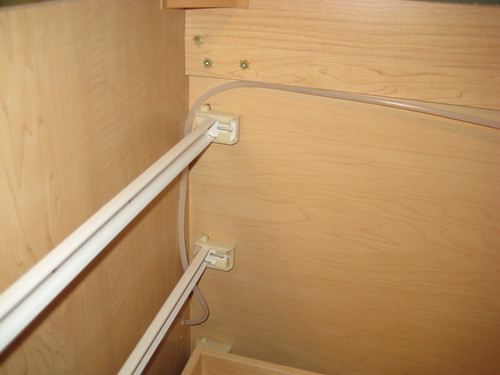
Same plumbing with new valves. They are 1/4 turn ball locks. I have an extension on valve for the ice maker. I was going to hide the water line under the base of the base cabinets, but Scott made a case for running it along the back of the base cabinets so it can be accessible down the road. Awesome point. It runs along the top of the base cabinets and it out of the way. It has to run the entire length of the new cabinets and under the window.

Relocated the electrical connection to a stud since it was just connected to lath with all new parts and a box since I was going to be replacing the wall with greenboard.
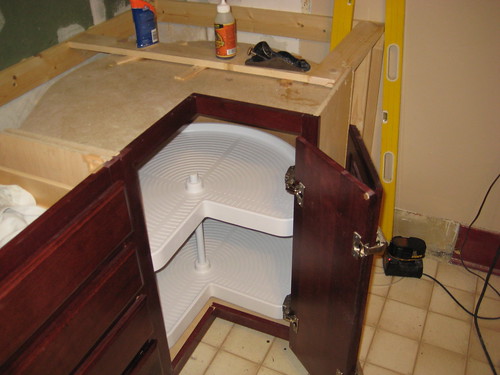
So we are doing something a bit strange. A lazy Susan (felt strange capitalizing that) for the end of our cabinets. Lazy Susans are meant to be between other cabinets and it was quite the pain to get it in there sturdy and level. Scott pretty much made up a makeshift wall to anchor it along with a base for it to sit on, and lots of support for the countertop.

You can see the ice maker water line poking out there. The fridge will line right up with the lazy Susan. Our fridge used to cover our east window. We will now have both windows to bring in light.

My hands are so beat. They are raw from pushing against sharp corners, getting nicks, and carrying all that heavy stuff. I have smashed fingers, blood blisters, and cranked stuff really tight for 3 days now. My delicate IT job hands are just not used to it all.
Countertop tomorrow is going to be fun. We are building our own out of particle board, attaching a red oak nose, and doing the laminate ourselves. Then drop the sink in, attach the faucet and drain and take a week off before replacing the rest of the outlets and doing a tile backsplash. Scott is invited over for some peppercorn steaks if we can use the kitchen Monday.
I have done the hang out buzzed and gawk at the awesomeness each night. THis is our first real project since living here for a good 6 + years. It is going to be so functional and we are doing it on the cheap. You prob noticed no dishwasher, or other fancy stuff. We just were not ready to make that kind of investment and can down the road if we so choose.
It is lots of fun to watch the kitchen remodeling shows, we have tons on the DVR. But, those remodels are insanely expensive. We are looking at right around $3K for all of this. For such an amazing improvement in functionality it is an amazing deal plus pretty sure it increases resale value.
No tags