15
I am going for my NAR level 1 certification flight this saturday. This is the rocket I will attempt it on
No comments · Posted by beerorkid in rockets
This post is huge. There is a link at the bottom that will expand this post without reloading a page. If you are interested in what goes into modifying a regular rocket kit into a sky punching cert rocket check it out.
I am attempting my NAR level 1 certification launch this Saturday. To get a level 1 cert you need to fly at least a H impulse rocket motor in a rocket you built and have it come down with recovery and be able to fly again without modification. When you are level 1 certified by a sanctioned NAR club you can purchase multiple motors in the H and I impulse class. So basically…. you need to prove that you know enough to build a rocket properly and are responsible enough to be able to purchase some more extreme rocket motors that are a bit too powerful for the average consumer.
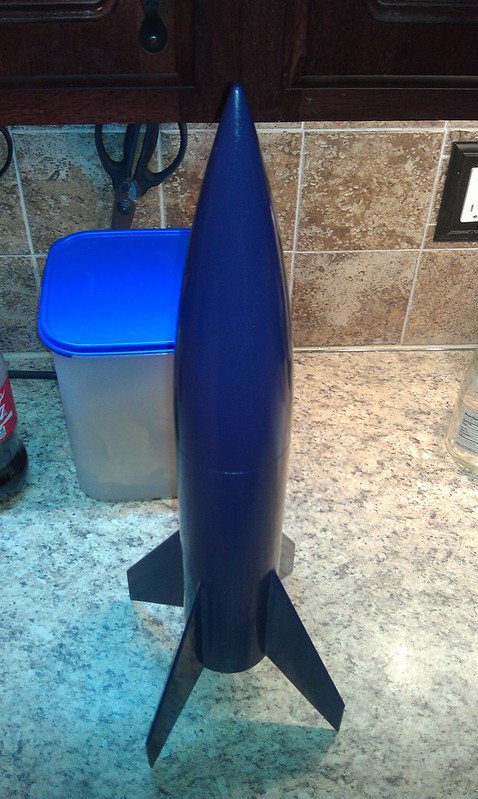
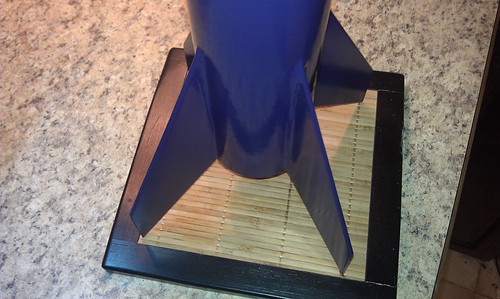
I will be using a modified Estes Big Daddy rocket for my cert attempt. This not yet named rocket will be the 5th Big Daddy rocket I have built. I just love the heck out of this rocket and I see it as the most rockety looking rocket ever designed. It is short and fat. Flies so straight and true. It is designed for 24MM engines, but is so easy to modify into a 29MM motor mount. I used plywood fins, centering rings, and a bulkhead that were gifted to me by a great friend on the rocket forums, Krusty The fins are a bit more sweeping and the plywood makes them so much stronger than the balsa fins that come with the kit. Plain balsa fins could not handle the power of the motor I am going to use. I really only used the nose cone and body tube from the kit.
I am going with a modified standard rocket instead of a rocket made for such flights for a couple reasons.
1st purely because it is possible. The kit is easily bought for $25 and I am adding about $30 worth of stuff to the basic build. It would be on par with other rockets I could cert on. Do the most with the least is sorta cool in my view.
2nd The challenge. I am really not modifying the rocket that much, but significantly enough to make huge improvements to its strength and durability. Short fat rockets are a less safe option stability wise, but if done right they are awesome.
3rd It will launch great. The stubby rocket will have to fight not only gravity, but the forces of moving through the air a bit slower than a thin screamer with the same H128 motor. AKA… it will not go so high that I lose sight of it. I only need to use an H impulse motor to get my cert. Height of the flight does not matter.
4th Honoring the folks who made it possible for me to be at this point in my rocketry adventures. The folks who have helped me on the rocketry forum are amazing. The assistance I have gotten on prepping for this cert attempt on this rocket is significant and doing it this way will rule. I am still not sure if my motor for the launch will show up in time and 3 of the rocket forum guys have a motor for me to try a cert launch if I need it. The community is just simply awesome.
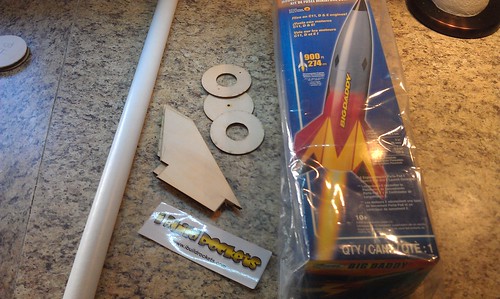
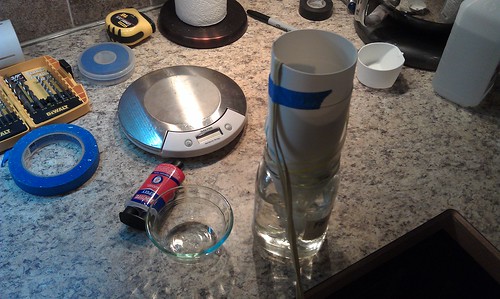
Kit and extra parts
Continue on for tons more
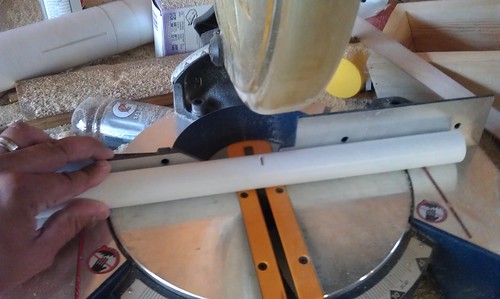
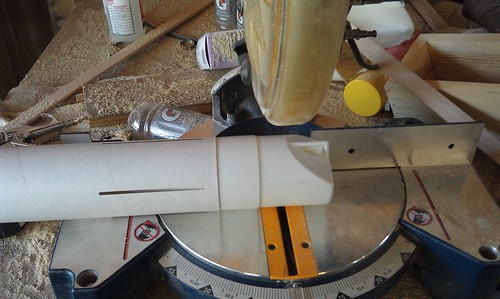
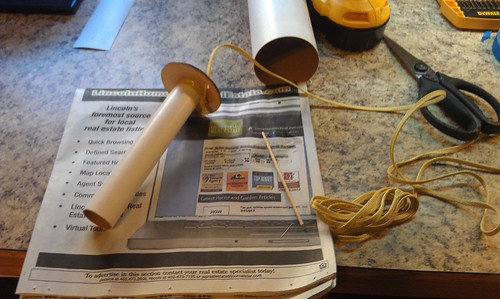
Cutting the 29MM motor tube
Chopping off the aft of the nose cone. This is needed for a couple reasons. I need to add nose weight to the rocket because I am jamming much larger motors in the rocket than it was designed to use. The nose weight moves the center of gravity above the center of pressure to keep the rocket stable in flight. It sucks to have to make your rocket heavier since it will reduce how high it will fly, but it is necessary to make the rocket stable. I want it to fly straight and this will insure it.
By chopping off the nose cone and eventually installing a wooden bulkhead I give myself more room inside the rocket for the equipment and the actual ejection charge to blow. Long lengths of kevlar shock cord will assist in the ejection event and descent to ensure success. The long cord is very strong and more giving of heavy forces that might occur with early or late deployment.

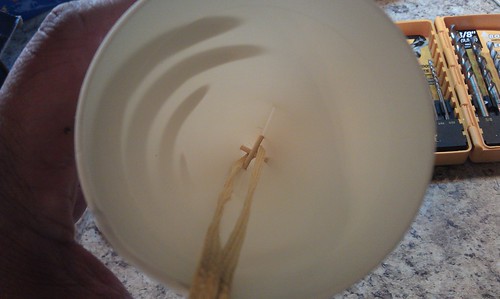
I have drilled a couple holes to fit wood skewers through that will lock the kevlar shock cord and BBs into the tip of the cone when they are covered in epoxy.
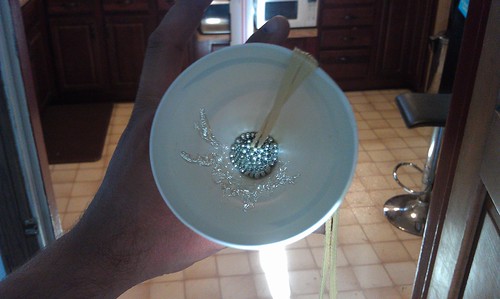
4 ounces of BBs and epoxy
Epoxy heats as it cures. I used a baggie and water dip to keep the temp down.
For the L1 attempt I need to use an H motor and the usual load and case for that is 180 MM long. So a bit over 7 inches of motor mount tube was needed. The ply rings fit perfectly. I am only doing the forward ring at this time because I want to bind the through the body tube fins well with epoxy. The aft centering ring will be glued in after the fins are mounted.
I did a motor mount shock cord mount. It is tied and epoxied around the forward centering ring with extra heavy duty kevlar cord.

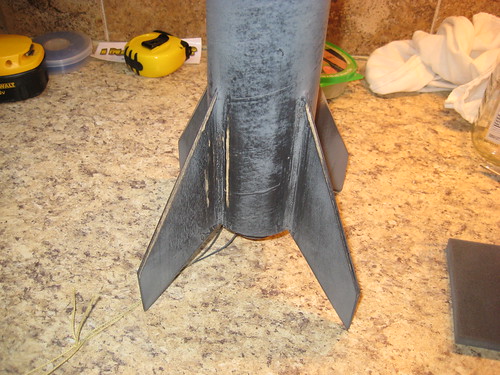
The fins were CA glued (super glue) to the motor tube through the body tube slots and then epoxied at all inner points very well.

I then used epoxy to make some sweet, but minimal fillets on the outer fins.
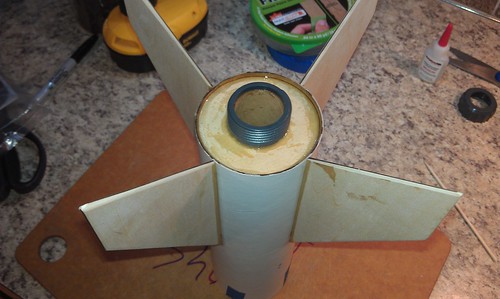
Epoxied an Estes 29MM retainer ring to the aft of the rocket.
* note *
I use a retainer ring on the aft part of the motor tube so that any 29MM motor casing can be used in this rocket. Right now I plan on jamming a long case in it so it can fly high, but in the future I might want to load a less powerful motor in there. The retainer ring makes that easy and with this system there is no need to put a thrust ring in the motor tube to be the point of force that moves the rocket. All the force is put on the retainer at the very rear of the motor mount
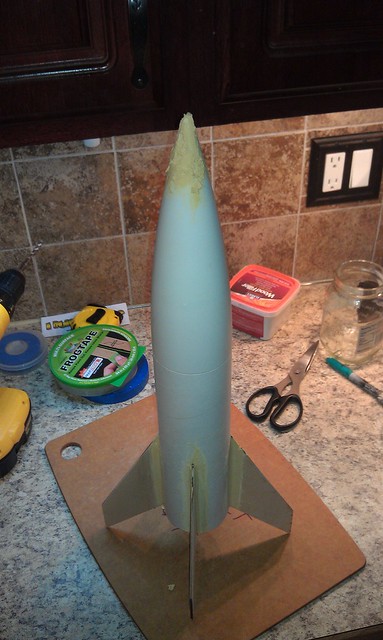
My epoxy fillets are strong, but not all that big, so I used wood filler to make them a bit more pronounced to give it a slick transition look. The nose cone needed a bit of filler to hide the work I did jamming skewers through it.

The next day I tried some bondo spot filler after I had done some primering and sanding. It reacted with the primer and made a mess. I repaired it with some wood filler and kept primering and sanding trying to get a smooth beautiful finish.
First coat of primer was black and the 2nd and after were gray.
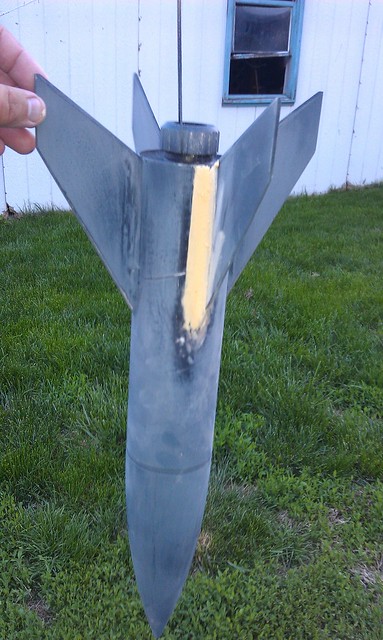
It has come out very well. I used 2 tubes of epoxy building it. The thing is a beast at 13.5 ounces without any gear. It will be over a pound loaded with connections and chute not including the H128 motor.
The open rocket simulations say it will go 2,470 feet at a max speed of 517 MPH. I look forward to letting you know how it did after Saturday 
No tags
No comments yet.
Leave a Reply
<< murph